|
|
|
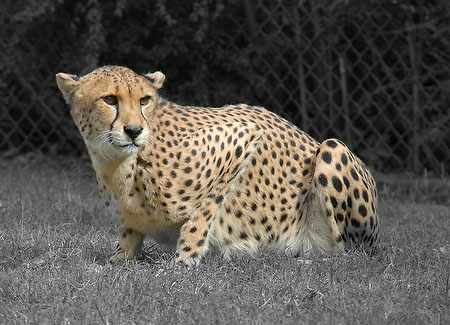
Photoshop's
History Brush The
most popular use of
the history brush
tool is to take a
color picture,
convert it to black
& white, then
brush the original
color back into a
particular feature.
The artistic effect
can be
striking.
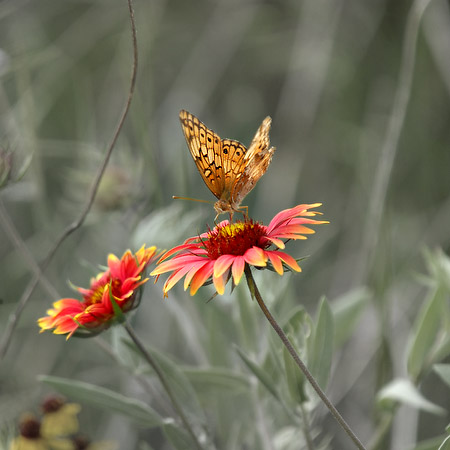
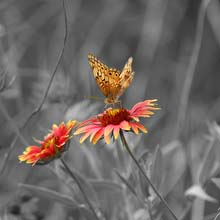
Below:
The history brush made the
beauty of the butterfly &
wildflowers stand out from the
background. Nikon
D1X photo, Sigma
50-500
lens. Here's
a short tutorial on
how I used the
history brush to
modify the
picture: The
original background
foliage was gaudy and
bright, overpowering
the delicacy of the
fragile butterfly
feeding from the
wildflowers. First
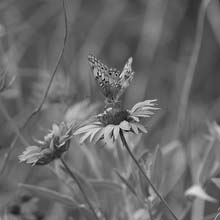
step: From
Photoshop's Main Menu
Bar I chose Image
- Adjust -
Desaturate. Next
I chose the History
Brush. Then
I clicked the box
next to the first
line in the History
Palette (the original
color). All
of the picture's
attributes &
qualities at this
point will be the
source for the
history
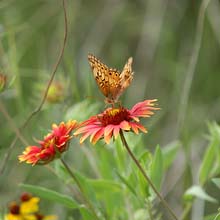
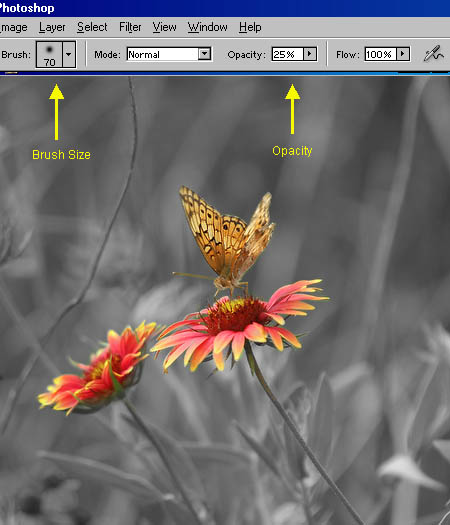
brush. With
brush sizes
proportionate to the
areas I was
targeting, I painted
back all the color
into the butterfly
and the two primary
flowers with the
History Brush at 100%
opacity. For
speed, I used a large
brush size across the
broad areas of the
subjects. Then I
switched to a very
small brush size to
paint the color back
into the edge
areas. To
finish up, I changed
the History Brush
opacity to 25% for a
watered-down look and
stroked some of the
original background
color back into the
scene with a very
large brush
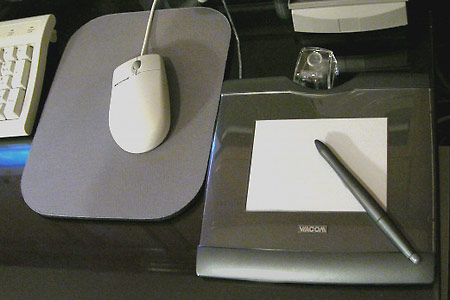
size. I
use my mouse for large brush
sizes and broad strokes. And I
keep a Wacom Graphire3 4x5 Pen
Tablet next to my mouse for
precision drawing and fine
brush work. It's easy to
switch back & forth from
mouse to pen, they're both
"alive" at the same time. I
like the 4x5 pen tablet
because it uses the same size
working area as my mouse,
which makes the dimensional
ergonomics of the two devices
feel the same. |