|
|
|
The Rubber Stamp
tool is a sophisticated copy & paste
operation. Simply put, it allows you to copy an
existing part of a picture and then paste it on
top of another area. The Rubber Stamp does its
job without looking like an unsightly band-aid
patch. The Rubber Stamp tool is also called the
Clone Tool. Dust & dirt
spots, blemishes, red-eye, and nearly any other
kind of flaw you can imagine can be invisibly
corrected with Adobe Photoshop's Rubber Stamp
Tool. It can invisibly rid you of the unexpected
piece of lint on a sweater, the unwanted
reflection on an eyeglass lens, the detracting
skin blemish or two (or more). Once you get the
hang of it, you'll find yourself using the
Rubber Stamp to some degree on most of your
"keeper" pictures.
Using the Rubber
Stamp Here's
a simple repair: A
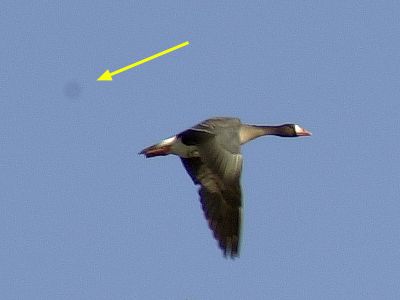
frequent problem with In this
picture, dust on the CCD of a Nikon D1
shows up as a "UFO" next to this Canada
Goose in flight. An easy
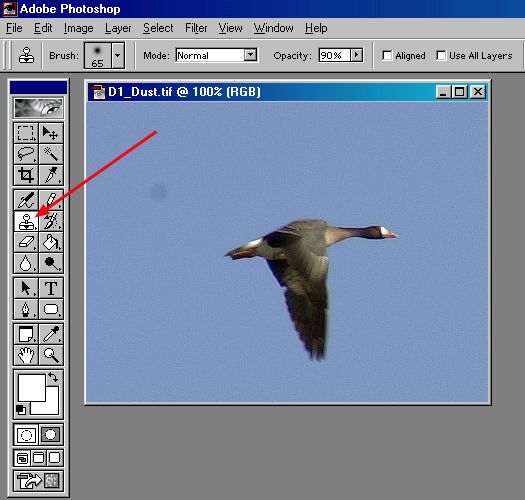
fix for the Rubber Stamp... Choose the
Rubber Stamp Tool from the main toolbar in Adobe
Photoshop. Rubber Stamp
Options: Depending on the version of Photoshop
you're using, the Mode, Rubber Stamp
option settings The
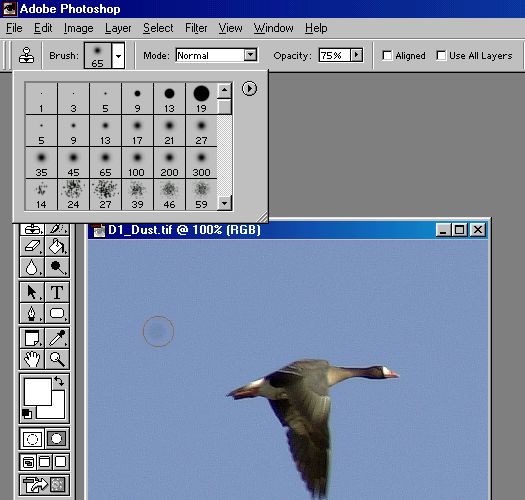
Repair: Choose
the appropriate brush size by need, as
shown. Remember
- once you pick a brush type, you can
quickly and easily change its size by
using the " [ " or " ] " keys
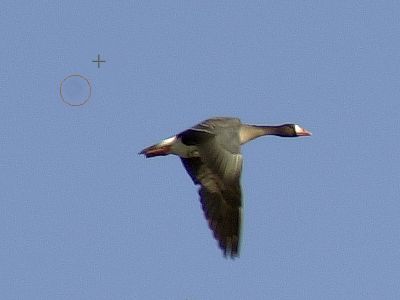
on your keyboard. Choose
your source: With
the "Alt" key held down,the brush
cursor will change into a Rubber Stamp
icon. Select
the source for your repair by moving
the Rubber Stamp icon over it, then
"click" on it with your
mouse. Release
the "Alt" key, the cursor will return
to the brush shape. Click
the brush icon on top of the target
spot. Notice that as you click, a cross
hair mark appears over the original
source area of your clone. Every
time (and everywhere) you click your
mouse, the cloning stamp is applied.
And with every click, the cross hair
will indicate the source
point. To
change source points, hold the "Alt"
key down and click on a new
source. Results:
After
applying four slightly shifted position
clicks of the brush over the dust spot,
it completely disappears. Perfectly
blended and feathered, the original
grain of the sky is retained.
No
"band-aid" patch marks... The repair is
absolutely invisible, even when zoomed
in to an 800% super pixelated
enlargement. The procedure is
basically the same for any repair
challenge.
More Rubber
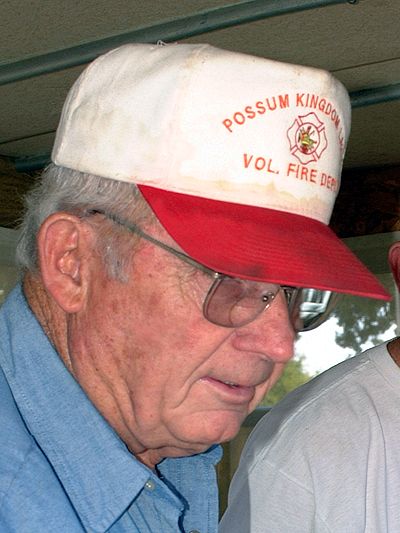
Stamp samples... Minor
blemish touch-up project. With a
couple of clicks, the Rubber Stamp took
care of a couple of unwanted
spots. And
with a little more work, you get an
idea of how fashion magazines make
their models appear "picture
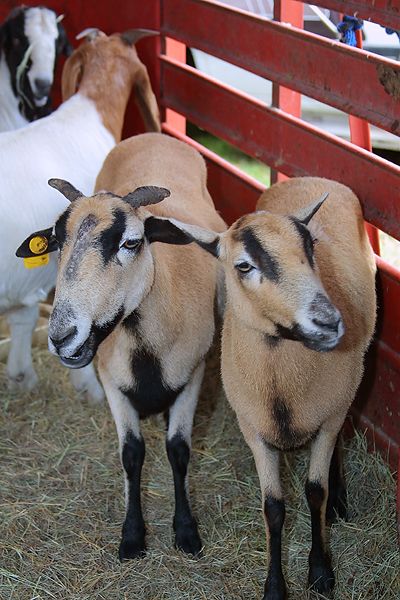
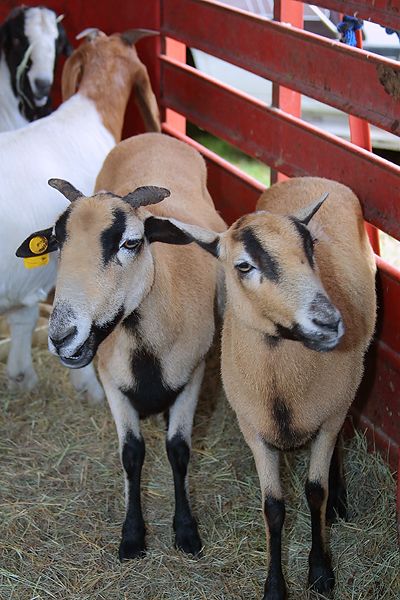
perfect". Big
Job: I
didn't notice the big, ugly fighting
scar on the goat's head until I got
home and looked over my pictures.
It
obviously didn't bother the goat, but
it ruined what was otherwise a pretty
cute snapshot. This
particular repair job required multiple
source points, multiple brush sizes,
and multiple opacity
changes. For
about 5 minutes work*, it was certainly
worth it. (*Your
mileage may vary... the more you
practice, the better and quicker you'll
get.) |